DIY Coffee Beans Art - The Perfect Gift for Any Coffee Lover
Creating an fine art piece with java beans is something you tin do adequately easily. Whether this is going to exist a gift for someone else or something you desire to put on your own walls, it's up to you to decide, merely we know it's going to be something you want to effort out.
It'south also going to exist pretty easy to create, as y'all generally demand things that you lot already accept around your home, especially if you're into crafting.
Materials for coffee beans fine art
- canvas
- java beans
- golden acrylic paint
- light chocolate-brown acrylic paint
- anise
- lace ribbon
- scissors
- paintbrush
- glue gun
How to make coffee beans art
Before we even go started, we want to make sure that we take all the materials on paw. This will assistance you be more than productive equally you don't have to run around trying to find something or another. So, do you take everything ready? Let'southward get started, then.

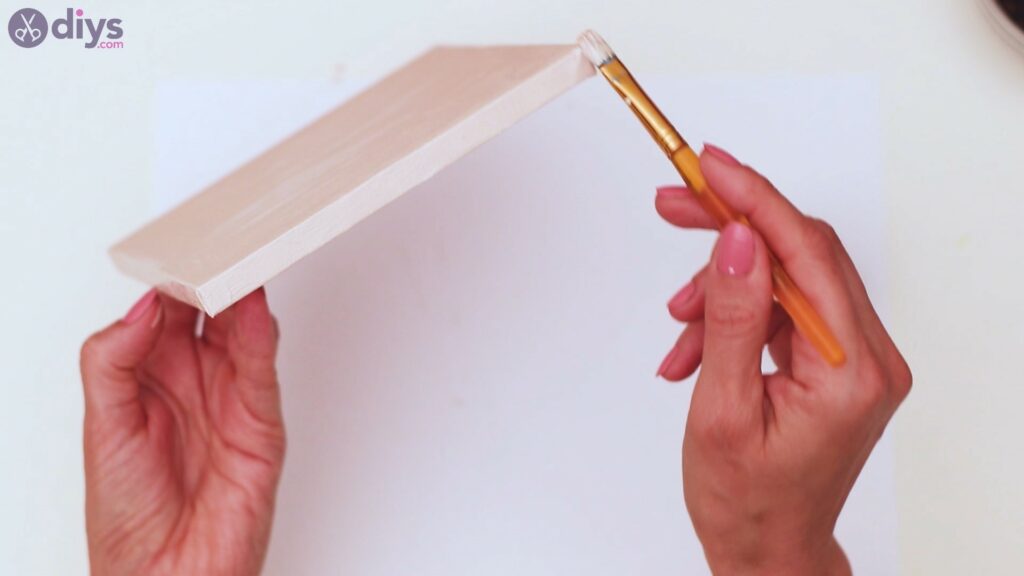
Pace 1: Pigment the canvas
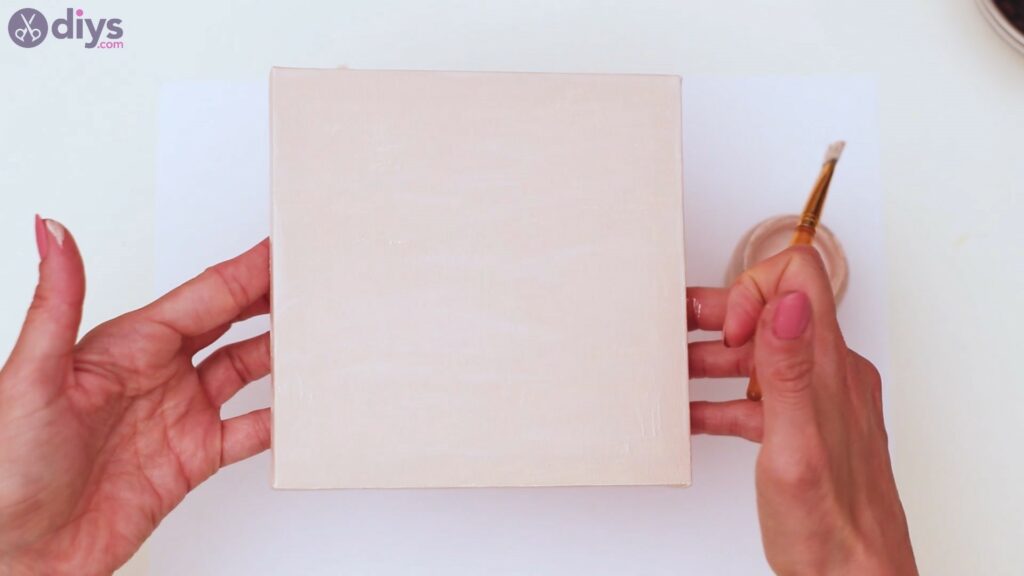
The commencement thing we need to exercise is to prepare our canvas. Sure, the white looks prissy, but do we really desire it to be so bland? Allow's add some colour over it. Option the light brown acrylic pigment and your paintbrushand kickoff covering thecanvas.We went with one of the smallest canvases we could find, only you can patently choose a different size and shape.
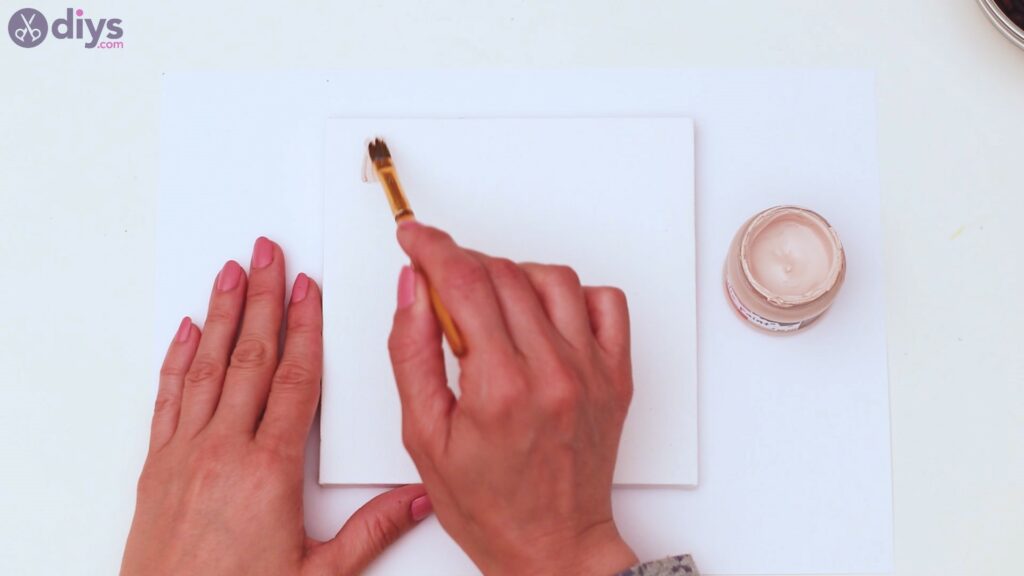
The sail is already primed and ready for color, and then start adding in the paint. Try to color the sheet correctly, covering every tiny spot with paint. Since we're using acrylic paint, this is going to be fairly easy to apply.

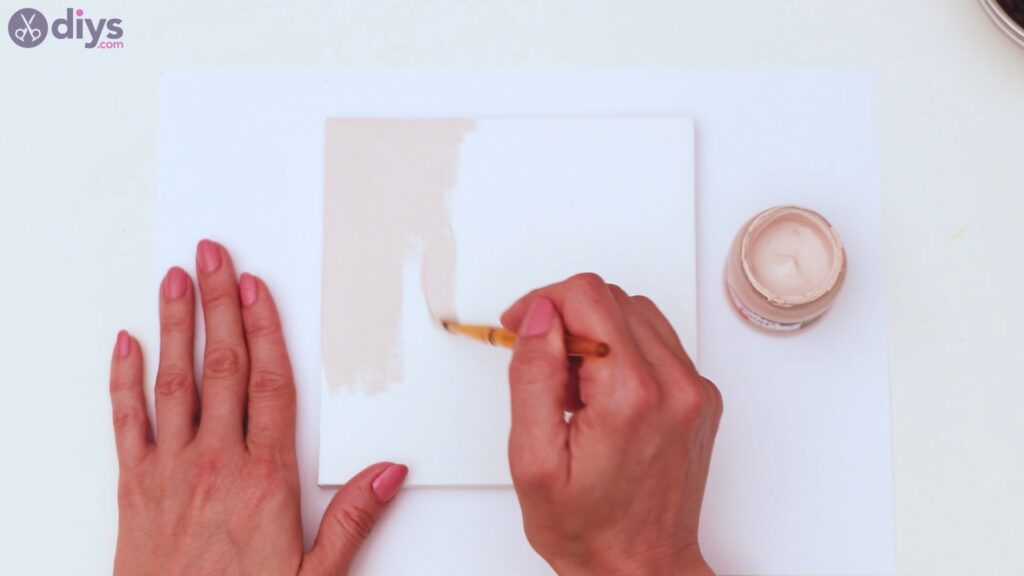
Brand sure yous also cover the sides of the canvas in the same color. Turn the canvas on all sides and add together in the color.

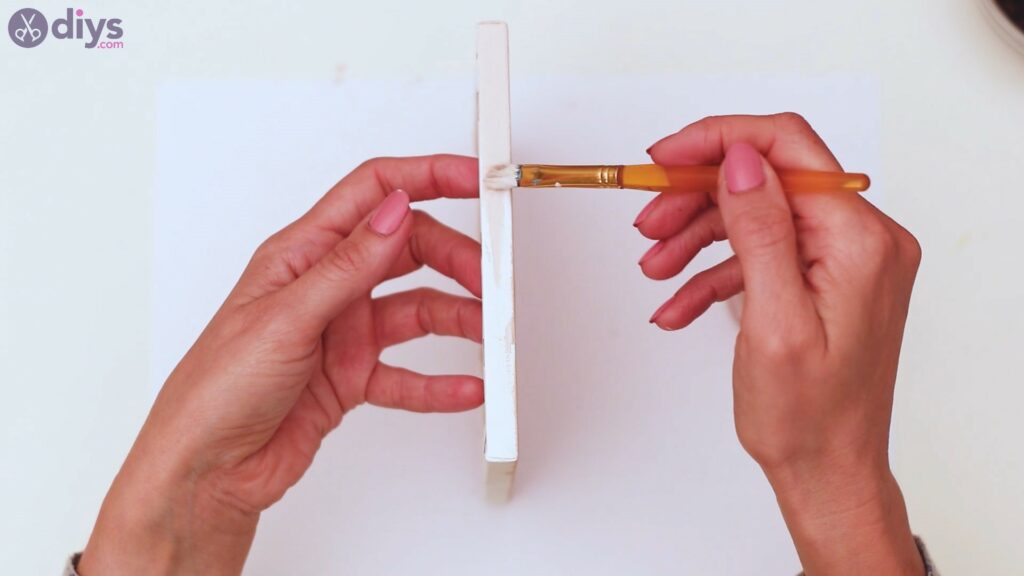
Make sure to also cover the corners of the canvas and to push the paint into the folds too.
There you go! If you feel like information technology needs more colour, y'all can add some other layer later this one dries. Allow information technology a few minutes in between layers, at least.
Step 2: Pigment some coffee beans
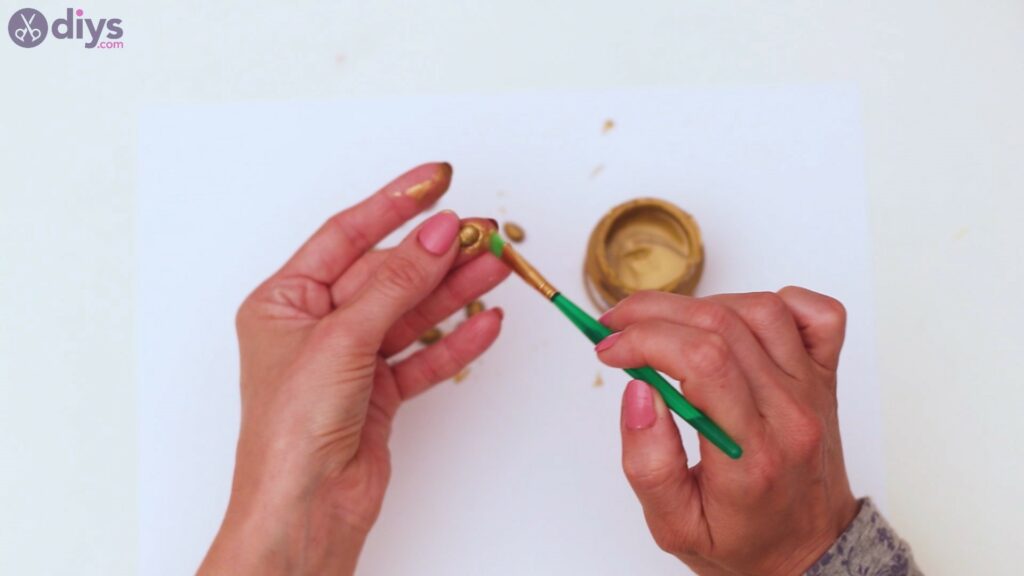
Next, nosotros want to paint some of the coffee beans with thegold acrylic pigment. For our design, we only want to use nearly 12 of these gold coffee beans, merely you tin can make however many you feel will work for your blueprint.
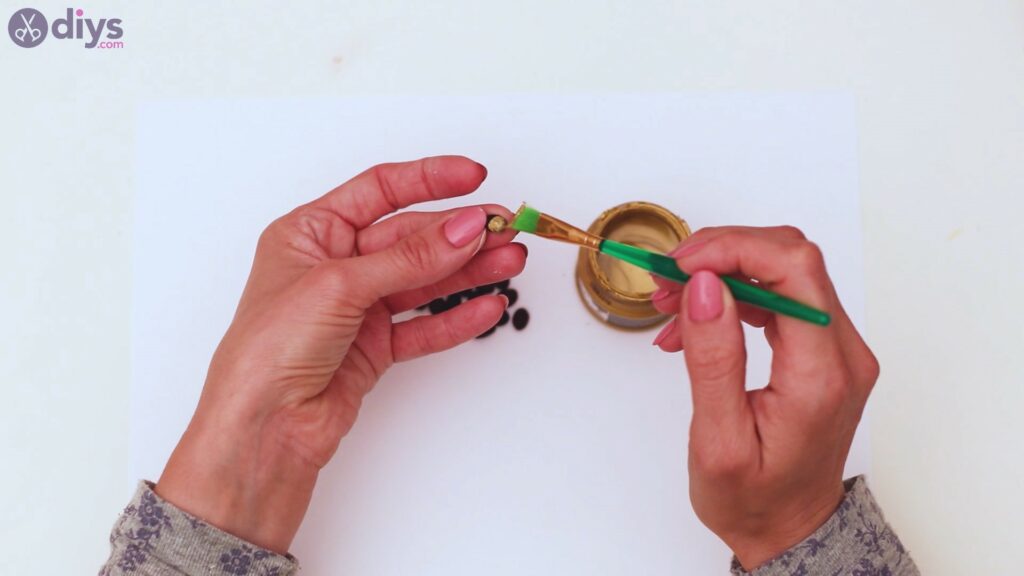
Pigment the coffee beans on all sides. Since they're not completely flat, even when you gum them to the canvas later on, there are areas where the brown colour could exist visible. Once a bean is painted, identify it on a piece of newspaper and allow it to dry.
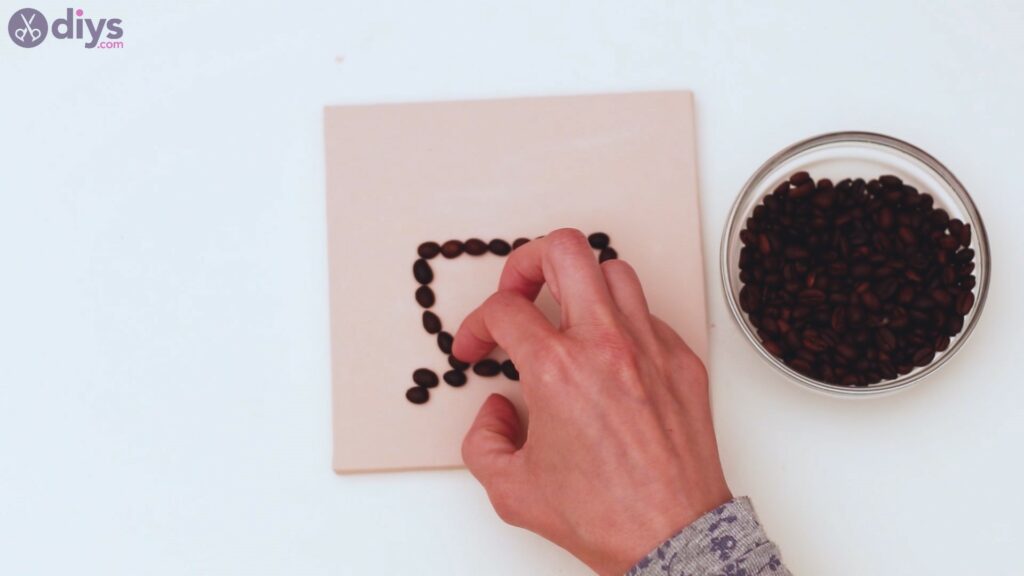
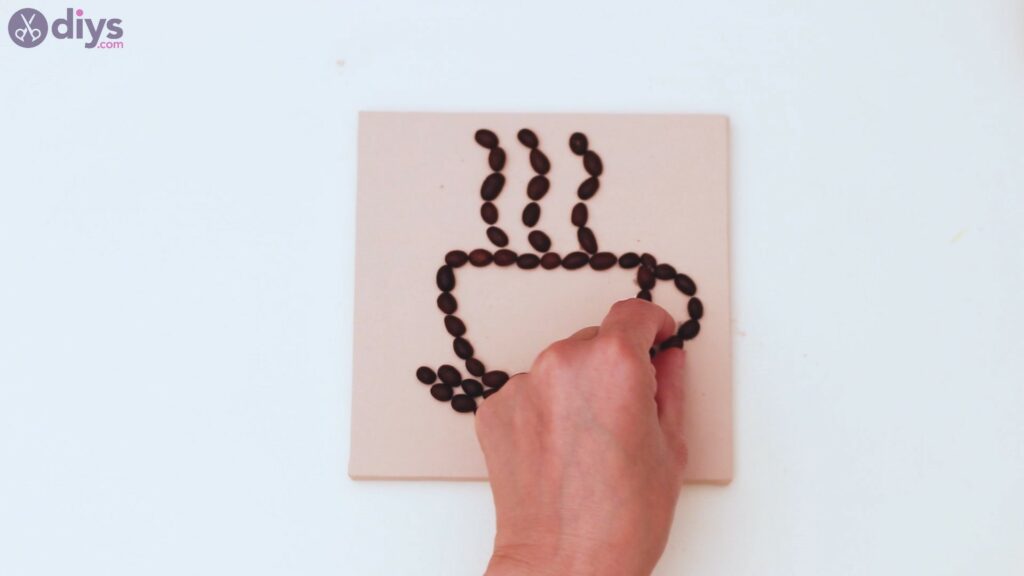
Pace three: Create your outline
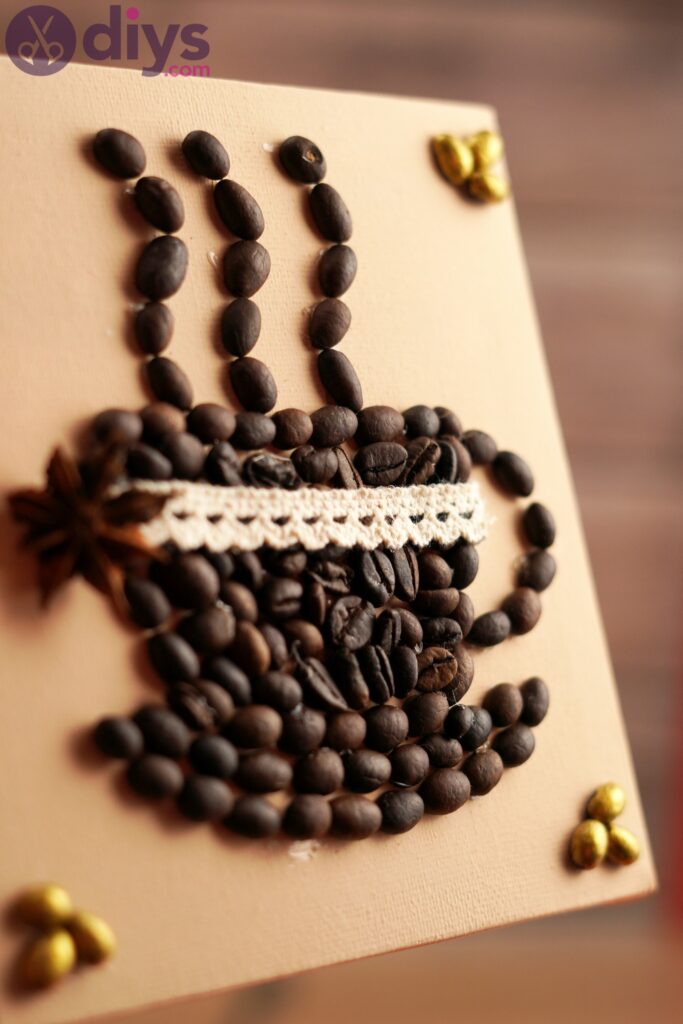
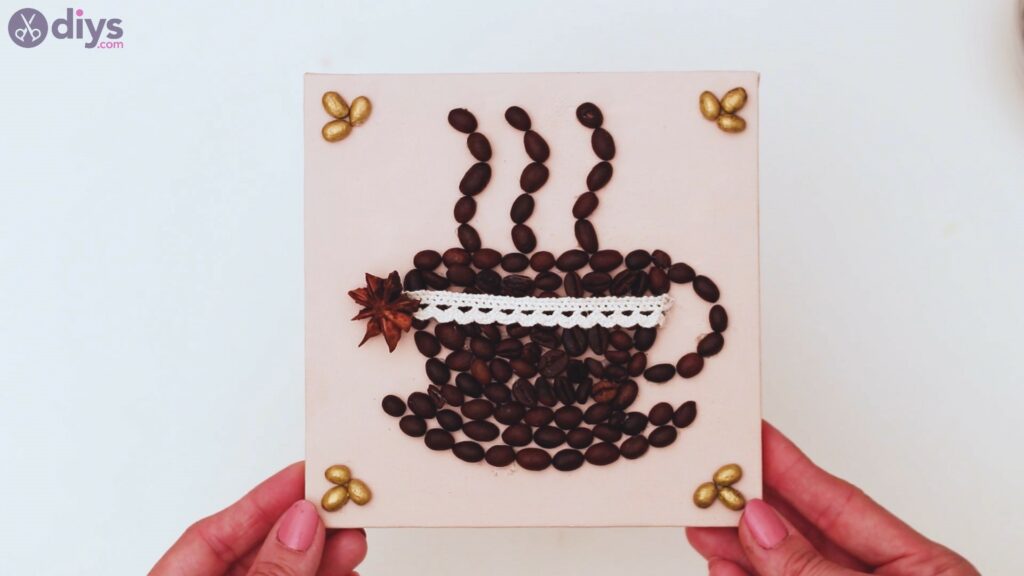
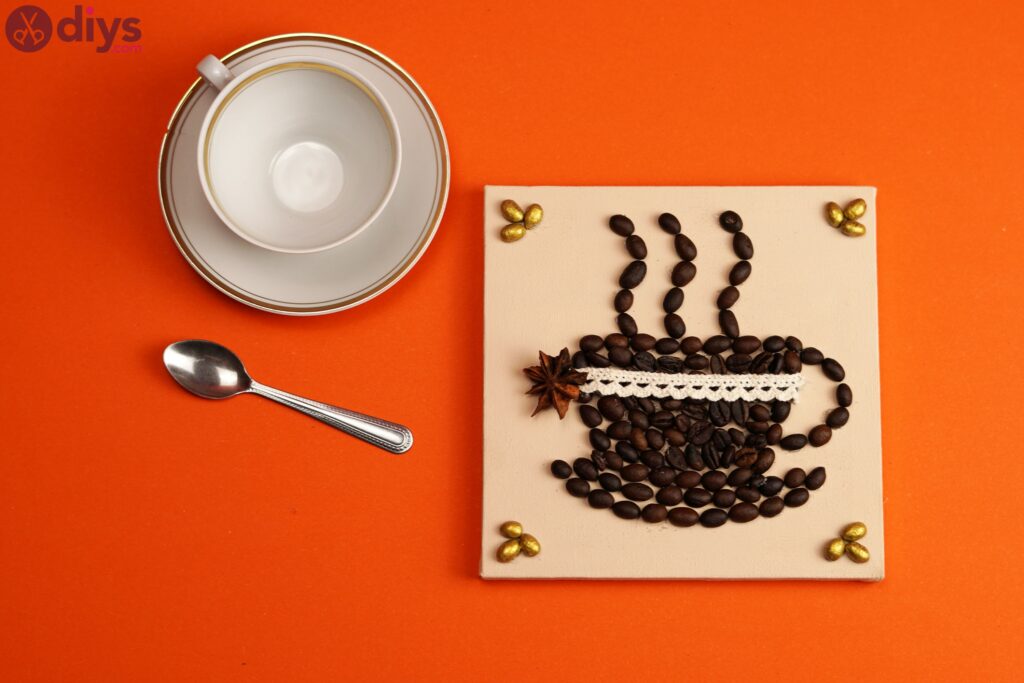
Before you start creating your design, you desire to make sure you have the outline right. We're putting the coffee beans in the shape of a java cup, complete with the steam coming off the coffee, and the saucer for the cup.

Outset by lining up thecoffee beans to create the shape of the cup.
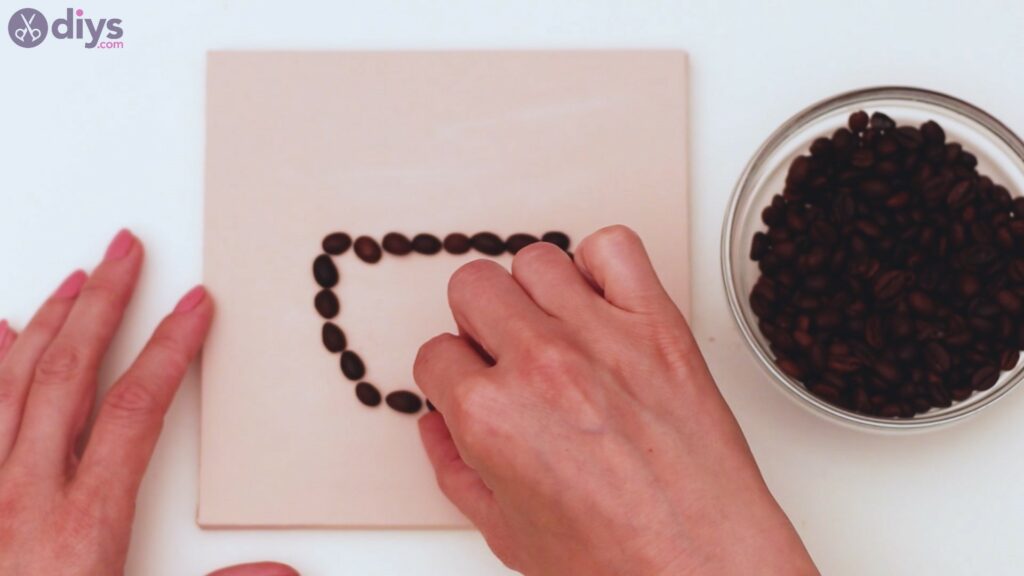
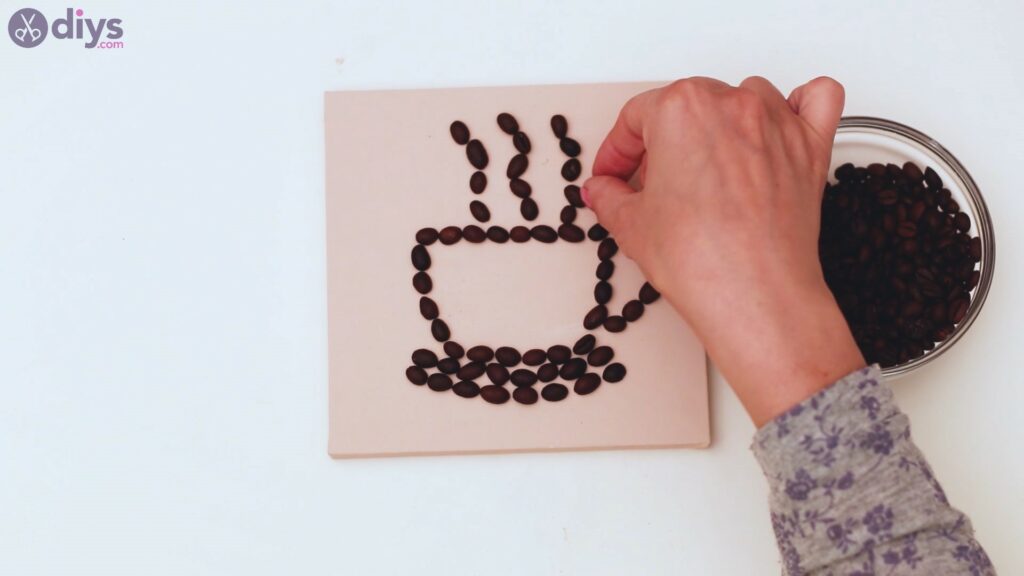
Then, add a couple of rows of java beans to correspond the saucer of the cup.
Our cup also needs a handle, so create a loop of coffee beans for that i besides.
Also, figure out how your steam waves should look and create them out of more than coffee beans.
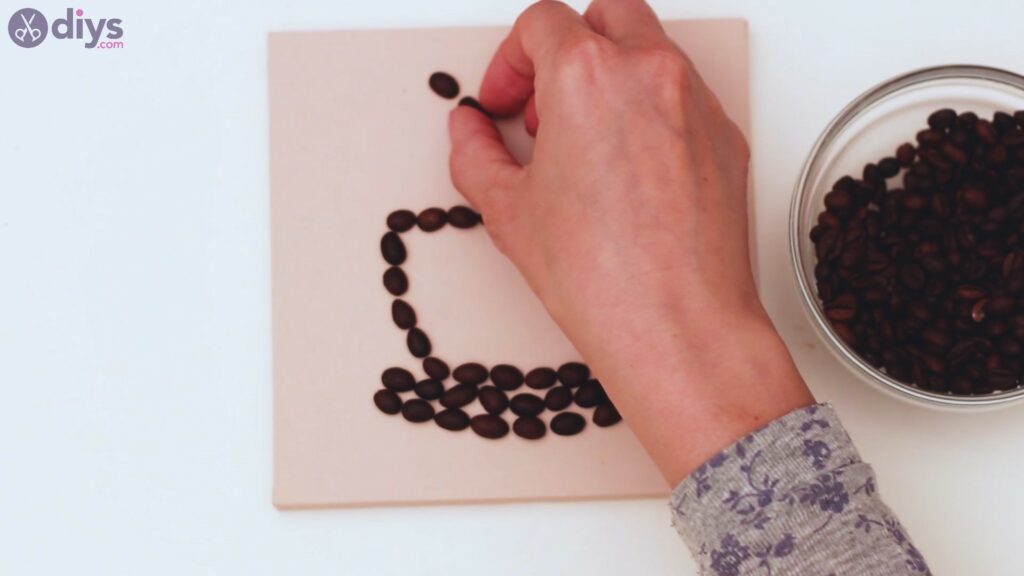
In that location yous get. This is the general outline for your coffee cup! It's time we went on to the next step.
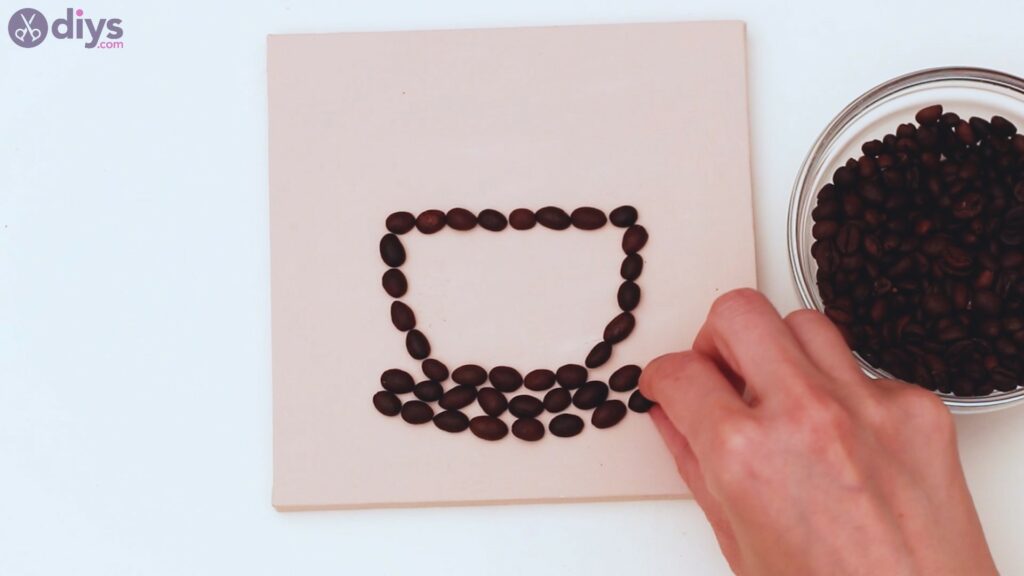
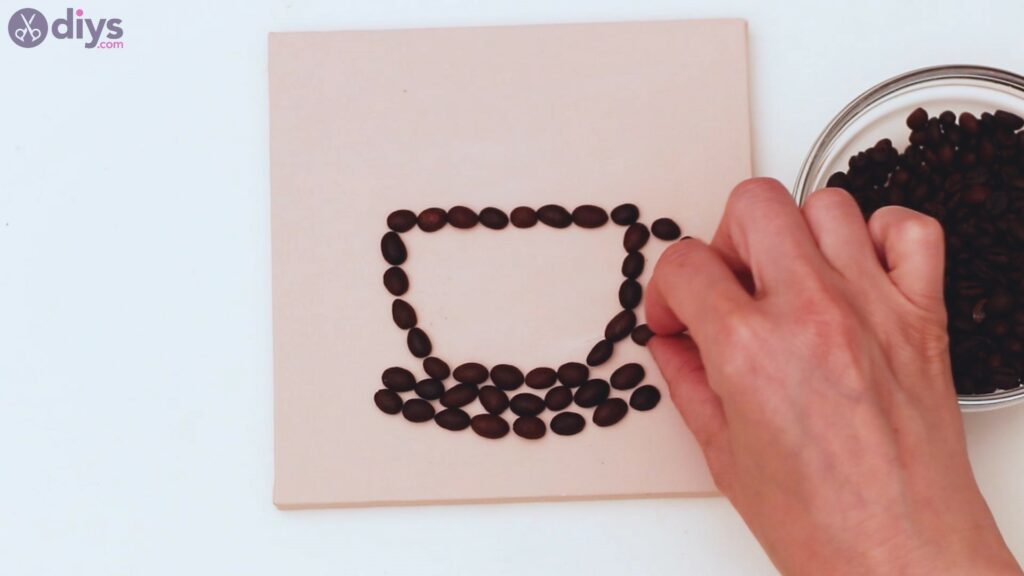
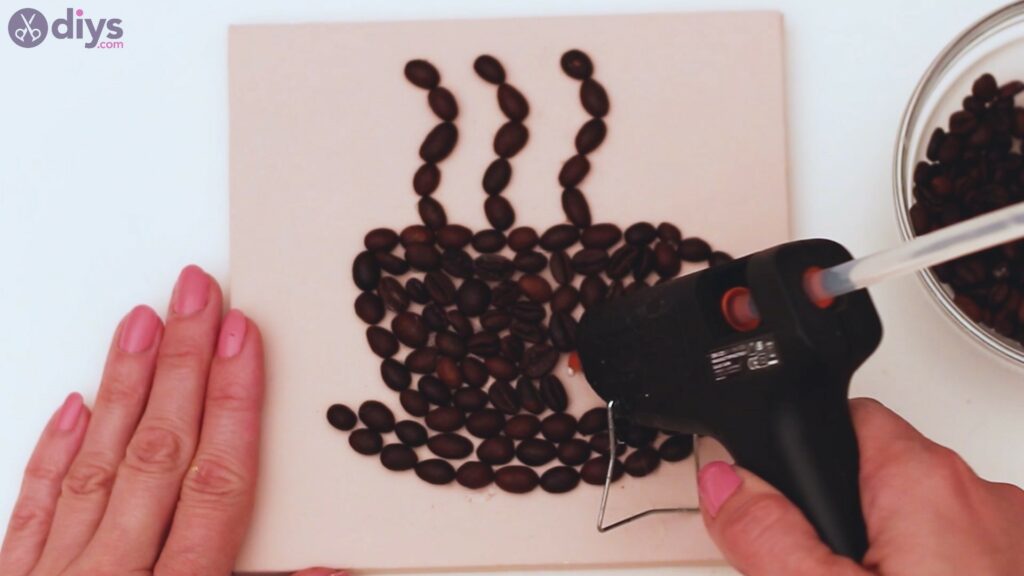
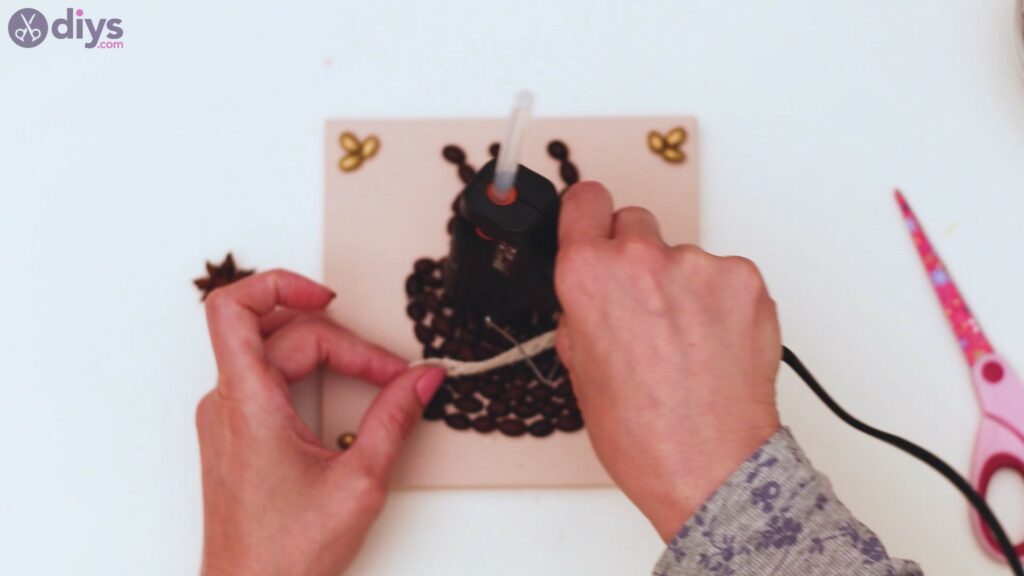
Stride 4: Glue the coffee beans
Next, y'all want to start making your design more than permanent. Choice up the beans one by 1 and starting time calculation some hot glue to their backs. Yourmucilage gun is going to go quite a bit of 'exercise' today!
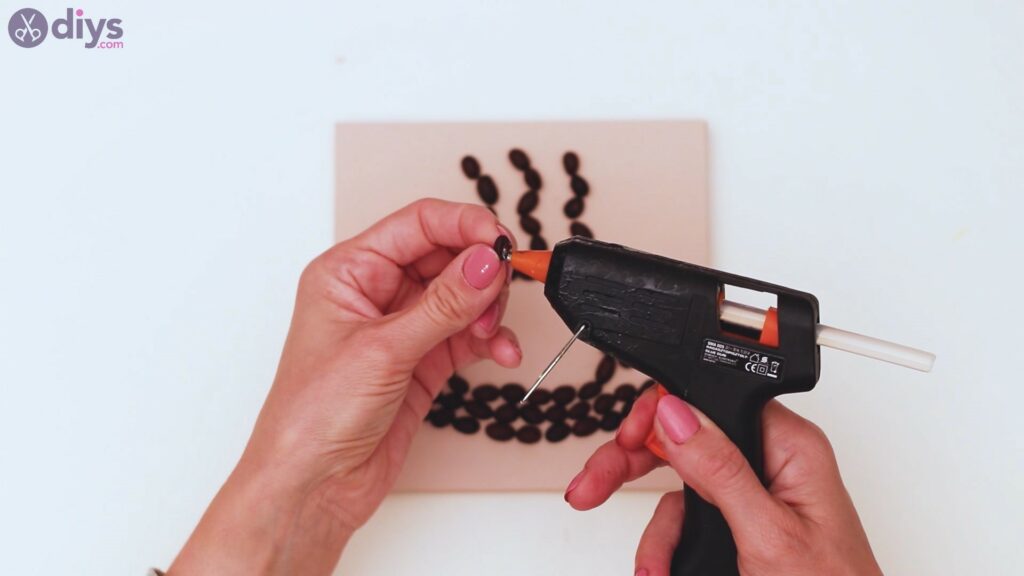
Try to be consistent and follow a path in gluing the coffee beans. You don't desire to forget to do ane of them and find out information technology's falling off afterwards.
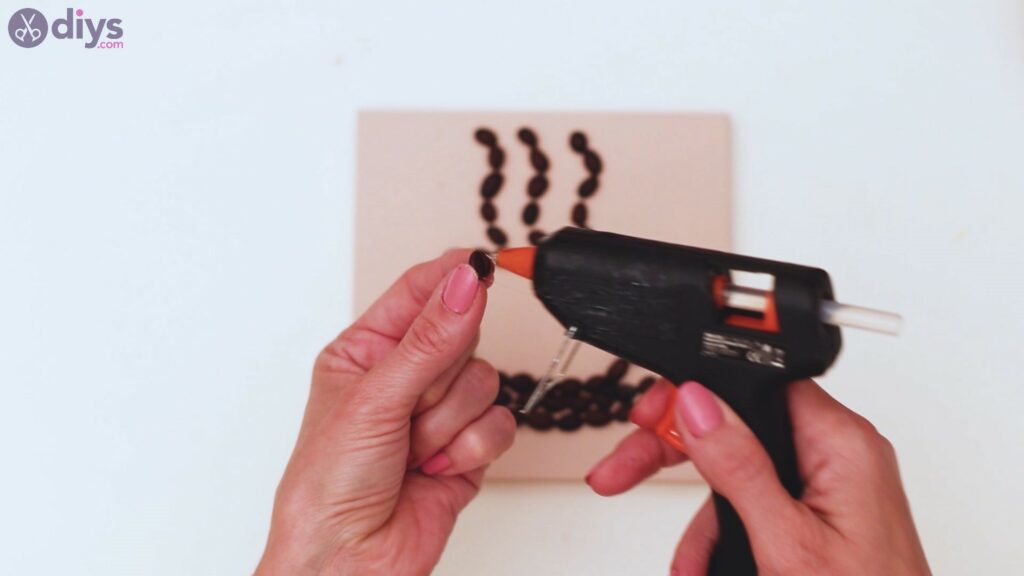
Once you've added hot glue to a coffee edible bean, make certain you press it into the sail slightly. In this way, the glue will spread a bit more than on the surface of the coffee bean and the canvas and you ensure there'southward a better grip.
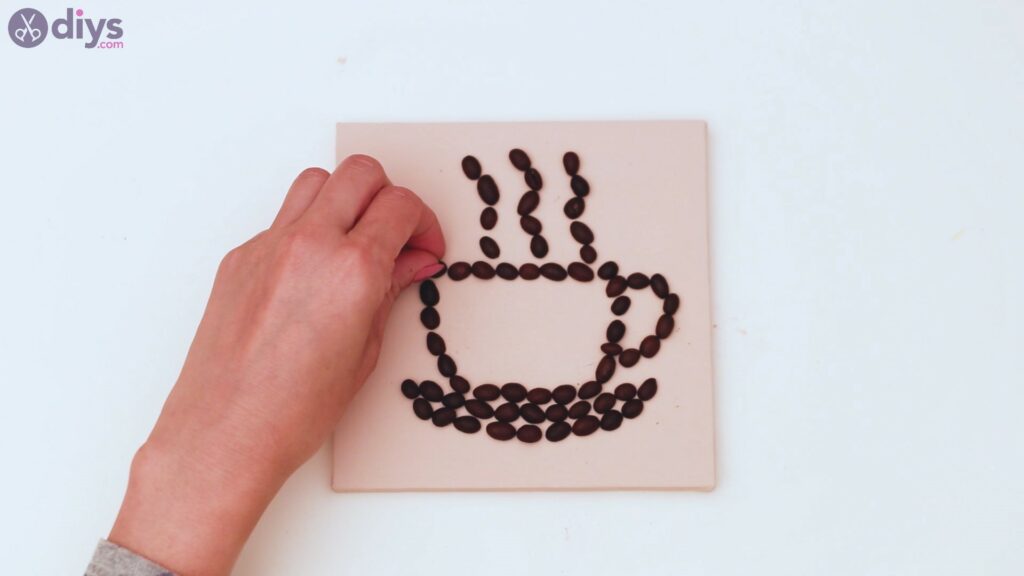
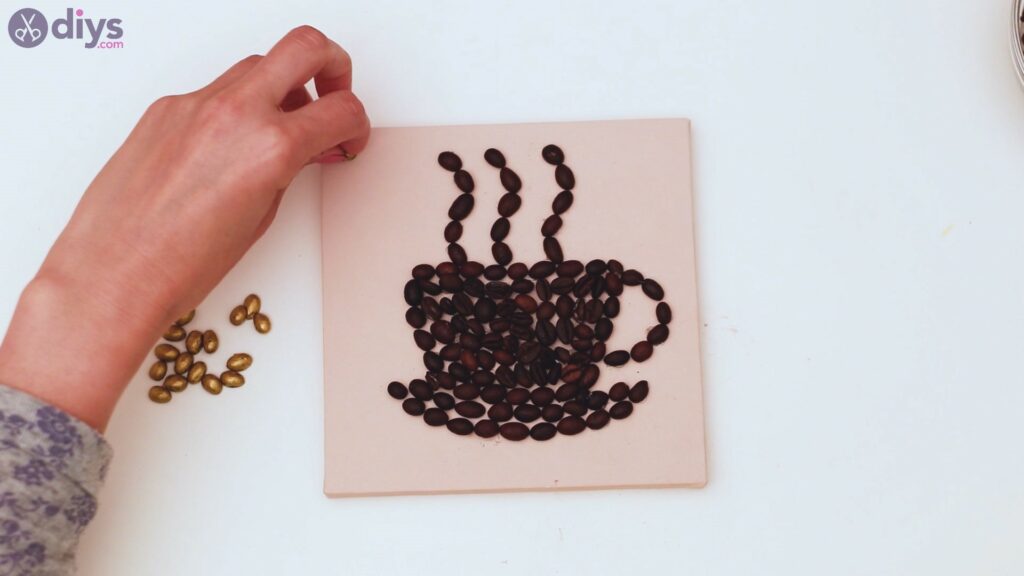
In one case the outline is complete, let'south offset filling in the cup with some coffee beans.
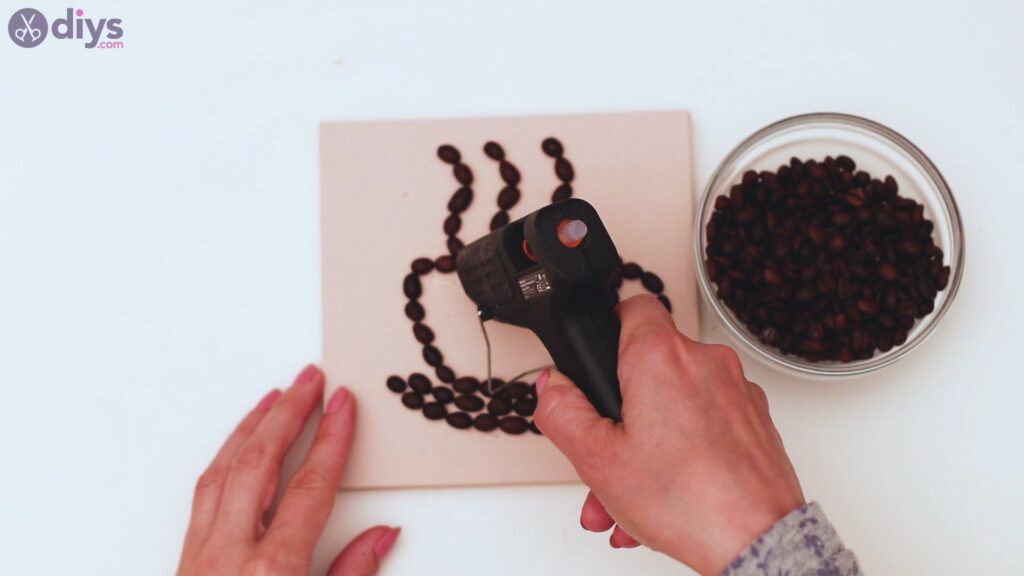
Start applying the hot glue to the canvass and so applying coffee beans. Try to keep the beans equally close as possible and not leave too many empty space.
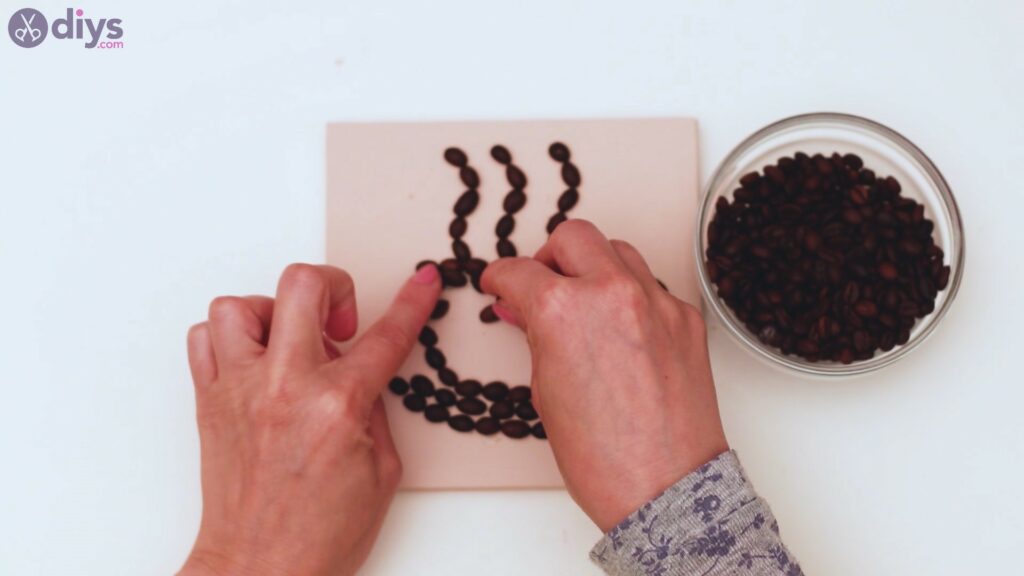
You tin add the coffee beans both sides upwards. In fact, while we did put them face down for the outline, we find the design has a lot more personality and texture when we turn them around.
Continue pressing the coffee beans into the canvas, arranging them all every bit best you lot can.

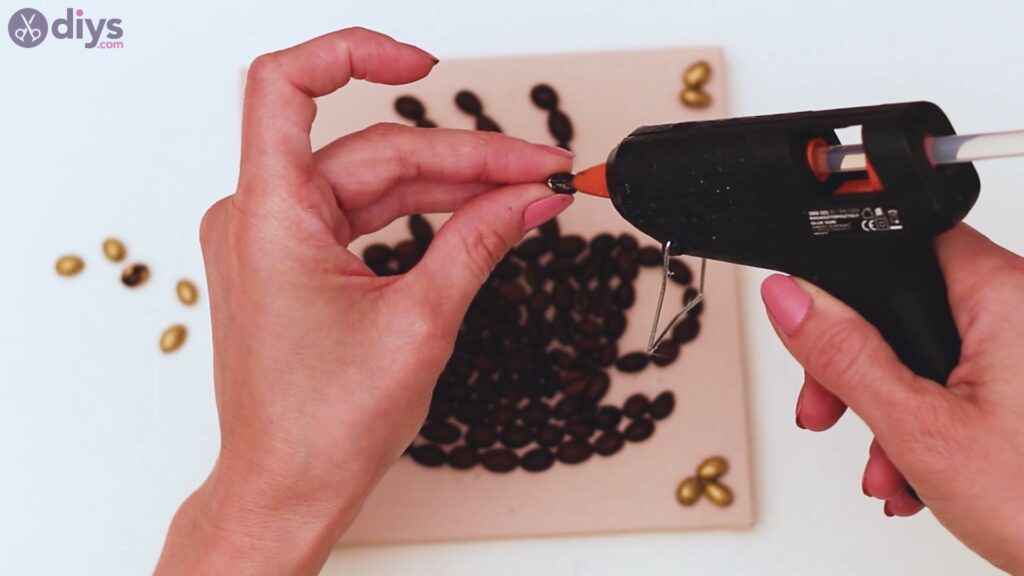
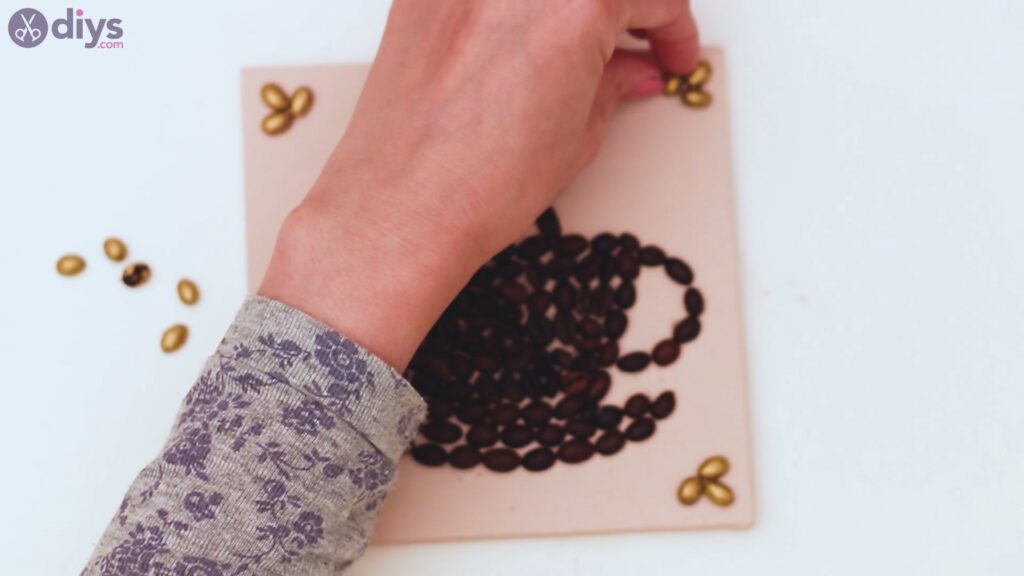
Step v: Add the golden coffee beans
Earlier, we painted a few java beans golden. Now information technology's time to add them in. Add hot gum to the back of a gold coffee bean and place it in the corner of the canvas, a half-inch from the edge.

Yous'll utilize three coffee beans in each corner. Brand sure you suit them neatly similar you lot can see in the image beneath. I will be in the middle, oriented towards the corner of the canvas, and the other 2 volition see at its base, similar to how the leaves on a bloom are arranged.
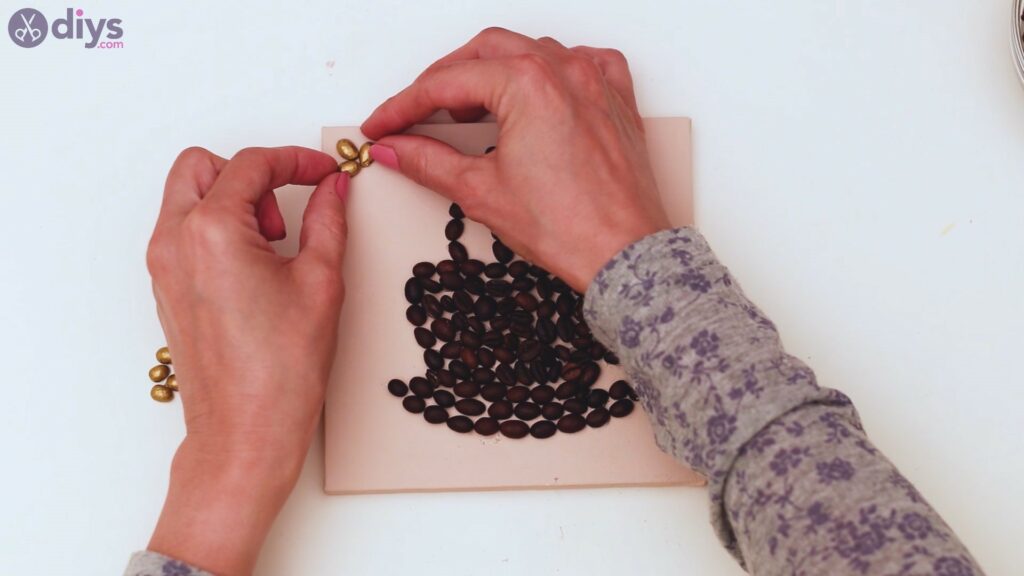
Repeat the process for the other corners of the canvass likewise!
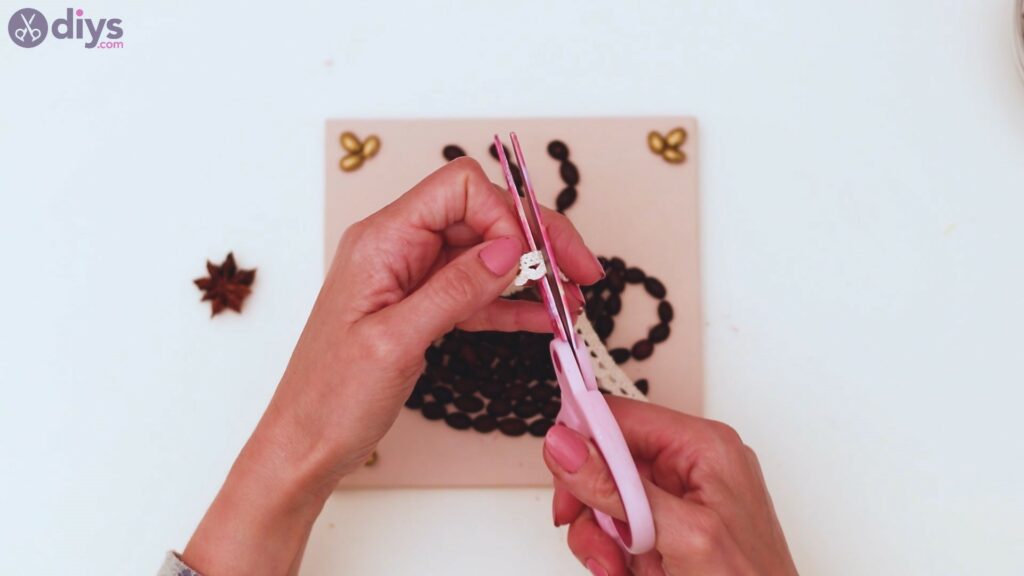
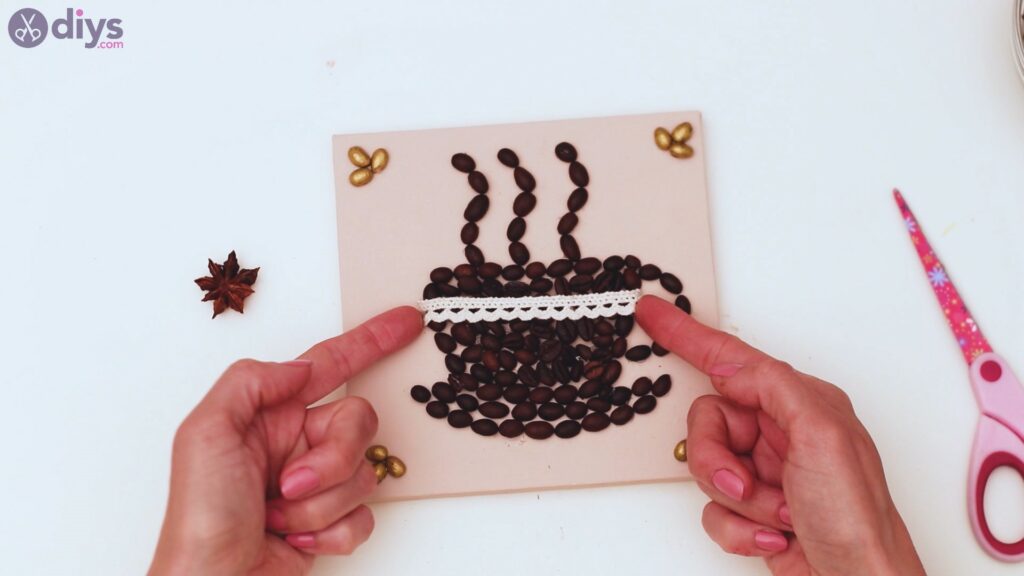
Step 6: Add some lace
We still have the lace ribbon on our table. Trim the edge of the ribbon and so place it over your "coffee cup" to measure information technology out.
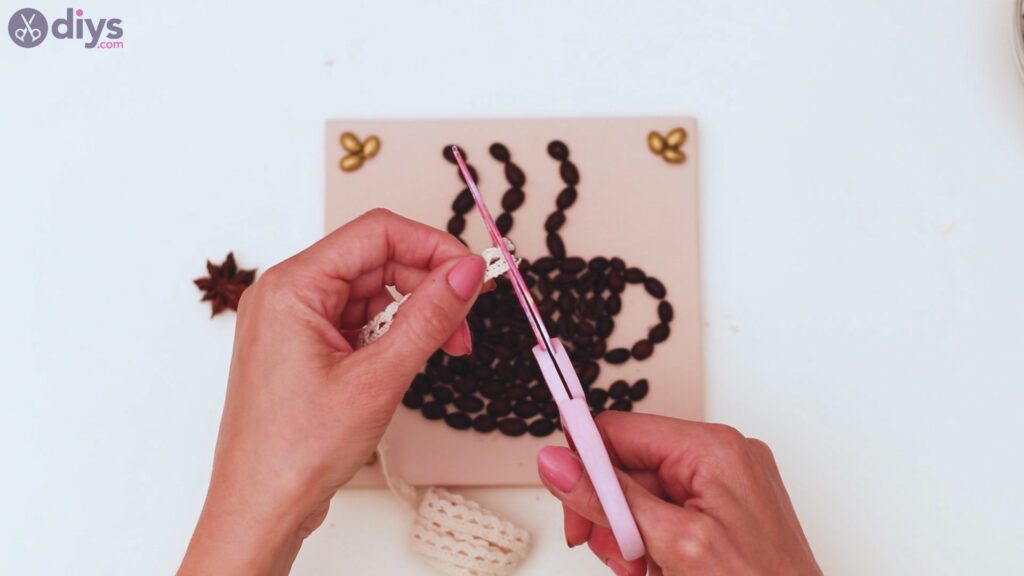
You desire the lace to embrace the length of the coffee cup, about two rows lower than the very edge of the cup.
Cut the lace ribbon and proceed to mucilage it downward.
Add a straight line of hot glue over the java beans and and then printing the lace ribbon into it.
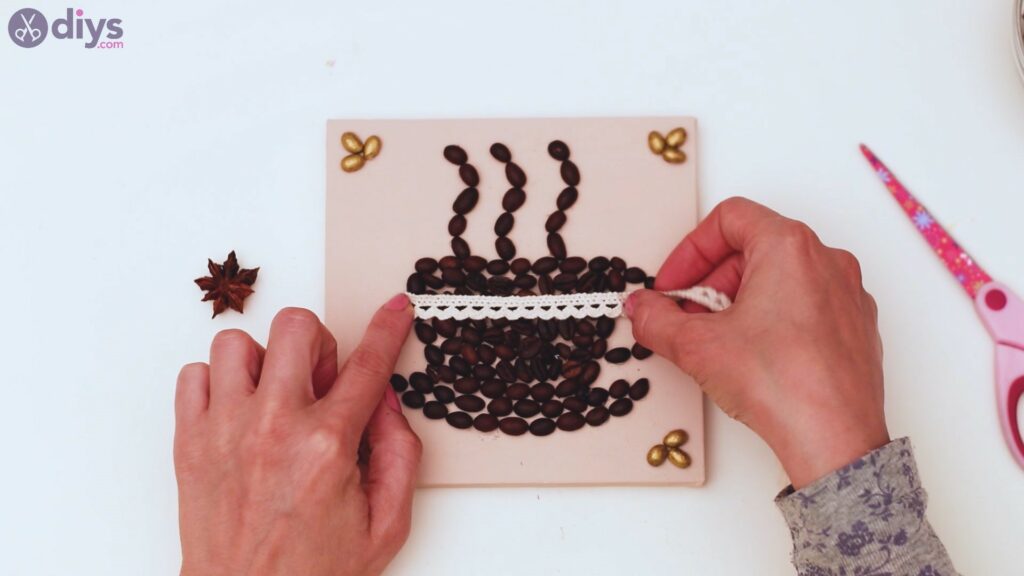
Accommodate it neatly and endeavor your best to arrive get straight, starting just on the edge of the cup.
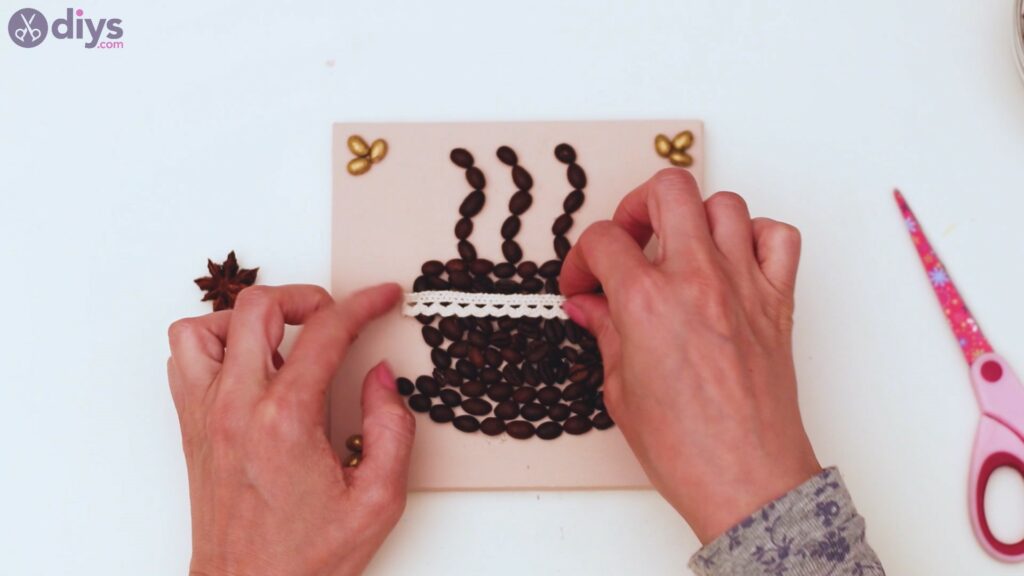
Add some extra glue to the edge of the beans on the sides of the cup and printing the lace into it.
Step seven: Add the anise
We likewise take the anise left, so let'southward discover a place for it. We chose to put it on the edge of the java loving cup, right next to the lace ribbon.
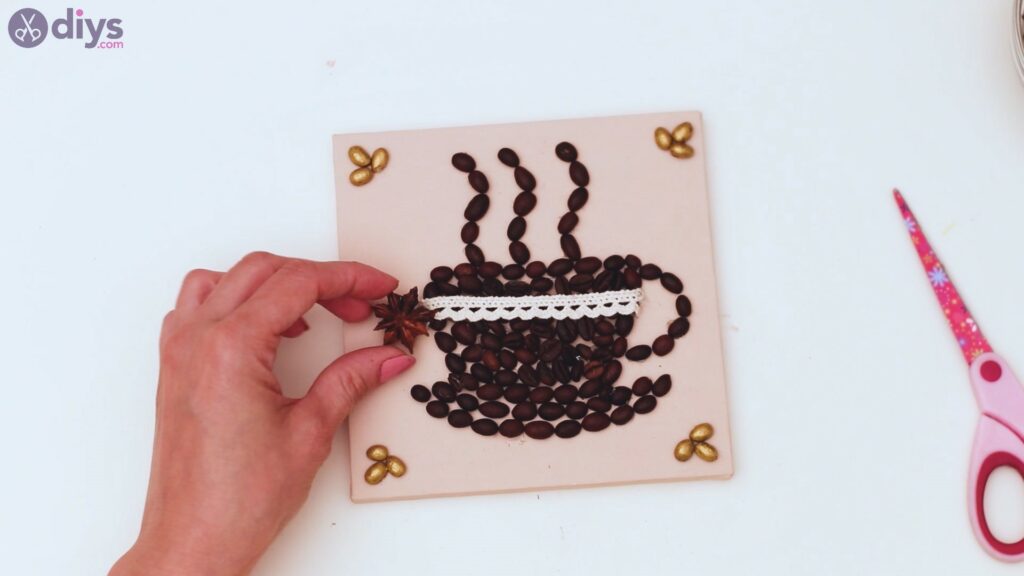
Add together some hot gum to the spot, and press the anise into it. Hold it there for a few seconds to ensure the glue is ready, and you're good to go.
That'southward it! Nosotros now take a pretty decor slice for our walls. It'southward going to remind you to beverage your coffee every day (if, for some reason, you've forgotten this essential step), and expect mighty nice too. As mentioned, this is a craft that you can customize withal you desire, by changing the shape and size of the canvas, choosing a different groundwork color for the paint, and even creating a unlike pattern out of the coffee beans.
We would love to hear back from you so you tin tell the states what you like and dislike about this detail craft. We'd also enjoy to see the results of your ain crafting time, so please share the pictures with us over social media.
Source: https://www.diys.com/coffee-bean-art/
0 Response to "DIY Coffee Beans Art - The Perfect Gift for Any Coffee Lover"
Post a Comment